What is Virtual/E-Design and Why Should You Hire A Virtual Interior Designer??


Why Should You Hire A Virtual Interior Designer??

What is Virtual/E-Design & Why You Should Hire US

First off, you should hire us because we are awesome, fun to work with, and generally all around amazing. Maybe not so humble…but we can’t be everything.

Now to the info you’re looking for.

We enjoy Full Service Design because we love being physically in the space and being a part of the project from conception to installation.  We like to be in control of all the details and we love getting to know our clients super well over a time period of a year or more during long projects. 

However, we realize that not everyone can afford Full Service Design. Just because someone can’t afford Full Service Design doesn’t mean they don’t appreciate great design so we decided to start doing E-design in order to help make a well-designed home more accessible.

An E-design Board for a kitchen project.  See Below For progress shot of kitchen

An E-design Board for a kitchen project. See Below For progress shot of kitchen

An in progress shot of a virtual design project we are working on

An in progress shot of a virtual design project we are working on

E-design is NOT for you if you: do not have time to measure room, take pictures, or order items that are specified

If you can read numbers on a tape measure and write legibly, and can order and install furniture and art, then keep reading about the benefits. 

Benefits of E-Design/Virtual Design

  1. Timing:   Generally E-design can be done quicker than Full Service traditional design, so if you’re in a rush and have the time to implement, this can be a great option.  There still may be a wait to receive furniture, but the whole process is generally faster.  

  2. Budget Friendly:   E-design is done quicker so it’s cheaper for you.   You generally are responsible for measuring and taking pictures and sending it to us.  You have the option of when to purchase items in design plan, so you can make it fit your budget.

  3. More flexible scheduling:  All meetings are online so you don’t even have to put on pants, which is always a win in our book.

  4. Expert Sourcing:  If you’ve ever tried to design & furnish a room, you know it can take you HOURS to find that perfect light fixture or chair.   We are sourcing items all day long, so can usually find cooler things much quicker because we’ve got a whole list of vendors to choose from. 

  5. See the final product before you buy any furniture:  Instead of spending a ton of money on multiple different items purchased over time and then realizing it doesn’t fit the space, you can see everything together in a 3D rendering and KNOW it works, and then purchase on your own time schedule.  We integrate furniture you already own into projects and make the whole space cohesive.

  6. Floorplans and Layouts:  No longer will you buy a couch and get into your living room and realize it is TOO BIG for the space.  No longer do you need to spend all day re-arranging furniture to see what looks best. We have already done that work for you. We give you 2D floorplans with all items labeled so you know exactly where to put each item. 

DownSides Of E-design

  1. It can be a lot of work logistics wise taking care of product ordering and communicating with contractors and sub trades. (which is a reason people hire us for Full Service: because it can be a second full time job).

  2. Design & Products are somewhat limited. All products are retail items which mean no custom items or super specialized design elements that would take collaboration with other trades. So if you’re looking for an exceptionally unique space a la Architectural Digest, this option isn’t for you.

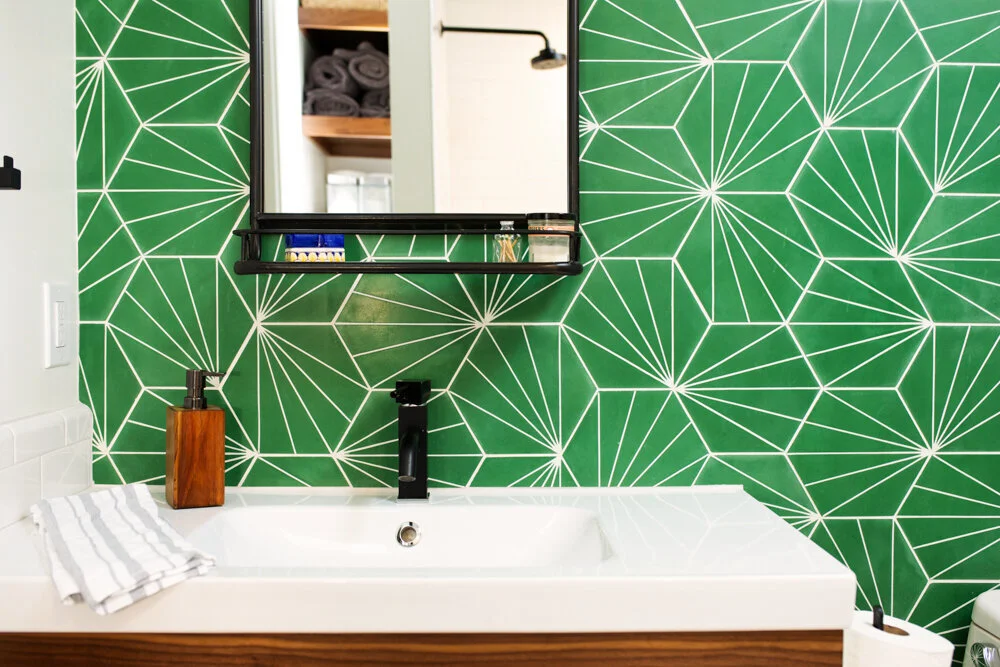
Design board for an E-design Bathroom (scroll below for real life pic)

Design board for an E-design Bathroom (scroll below for real life pic)

How much does Virtual Interior Design cost? 

We charge approximately $1,749 to complete an E-design for one room.  (Full Service Design can be 2-3x that cost).  

Powder rooms and entry ways are priced on a case by case basis and are generally cheaper.  Kitchens or other complicated rooms are also on a case by case basis if they include any cabinetry layouts. 

What is included in the $1,749?

  • 2D Floorplan of room with furniture placement

  • 3D Renderings of spaces

  • Design Concept Board (aka mood board) which includes all products and items needed to fully implement design

  • All products loaded into our project management software with links to purchase products

  • Paint color suggestions

  • Window covering options

Real Life pic of Project in Progress

Real Life pic of Project in Progress

How Does E-Design WOrk?

  • You can click here to take our questionnaire

  • After taking our questionnaire, you will be able to book a free discovery call with us. During the call we will talk about your project and help you figure out if E-design will work for you.

  • If so, we send you a fee proposal

  • After design fee is paid, design work starts:

    • design concept, drawings, sourcing product, (A minimum of 14-21 days for design time is required prior to presentation of design concept).

  • Presentation via Email/Phone/Zoom, depending on client preference.

  • Follow Up/Revision

    • Revise any parts of design per client, answer any questions prior to project completion

Any Questions?

If you have any questions about how E-design works, comment below or drop us an email and we will get back to you!

 

Best White Paint Color BM OC 130 Cloud White in Real Homes


Best White Paint Color BM OC 130 Cloud White in Real Homes

Before someone crucifies me….Is this the ultimate, bestest, going to work with every single-house-white-paint color?

No. That white doesn’t exist.

Benjami Moore Cloud White OC-130.png

But it is a white paint color that I’ve used in many different projects…from mid-century modern to old vintage houses, this white is a great one.

Cloud white is a WARM white. That means it has some yellow undertones with a smidge of black. Don’t be scared off by the word ‘yellow’ in the description of it.

That being said, if you’ve got some stark white furniture or stark white tile, Cloud white is NOT going to look great next to it.

Benjmamin Moore’s Cloud White is great because it’s right there in the middle of the stark pure white and some warmer whites.

Which is why it can straddle design asethetics so well.

The first four of these spaces are in a mid century modern home we did a few years ago.

Bathroom with Benjamin Moore OC 130 Cloud White walnut vanity.jpg
cloud white white brick fireplace walnut mantel mid century living room ben moore oc 130.jpg
OC 130 Benjamin Moore Cloud white with walnut sliding door.jpg
Mid century gallery wall OC 130 Cloud White Benjamin moore eames chair.jpg

These next pics are from a house built in the early 1900’s- the decor has some modern pieces, but is a much different house than the previous one.

You will notice that the paint color does not look the same between the two houses.

The pictures were taking on different days, with different lighting, and different photographers. Not to mention the window and natural lighting situation is completely different between the two.

This is a great example how the same paint color can look different in different spaces- and why you should ALWAYS get samples first.

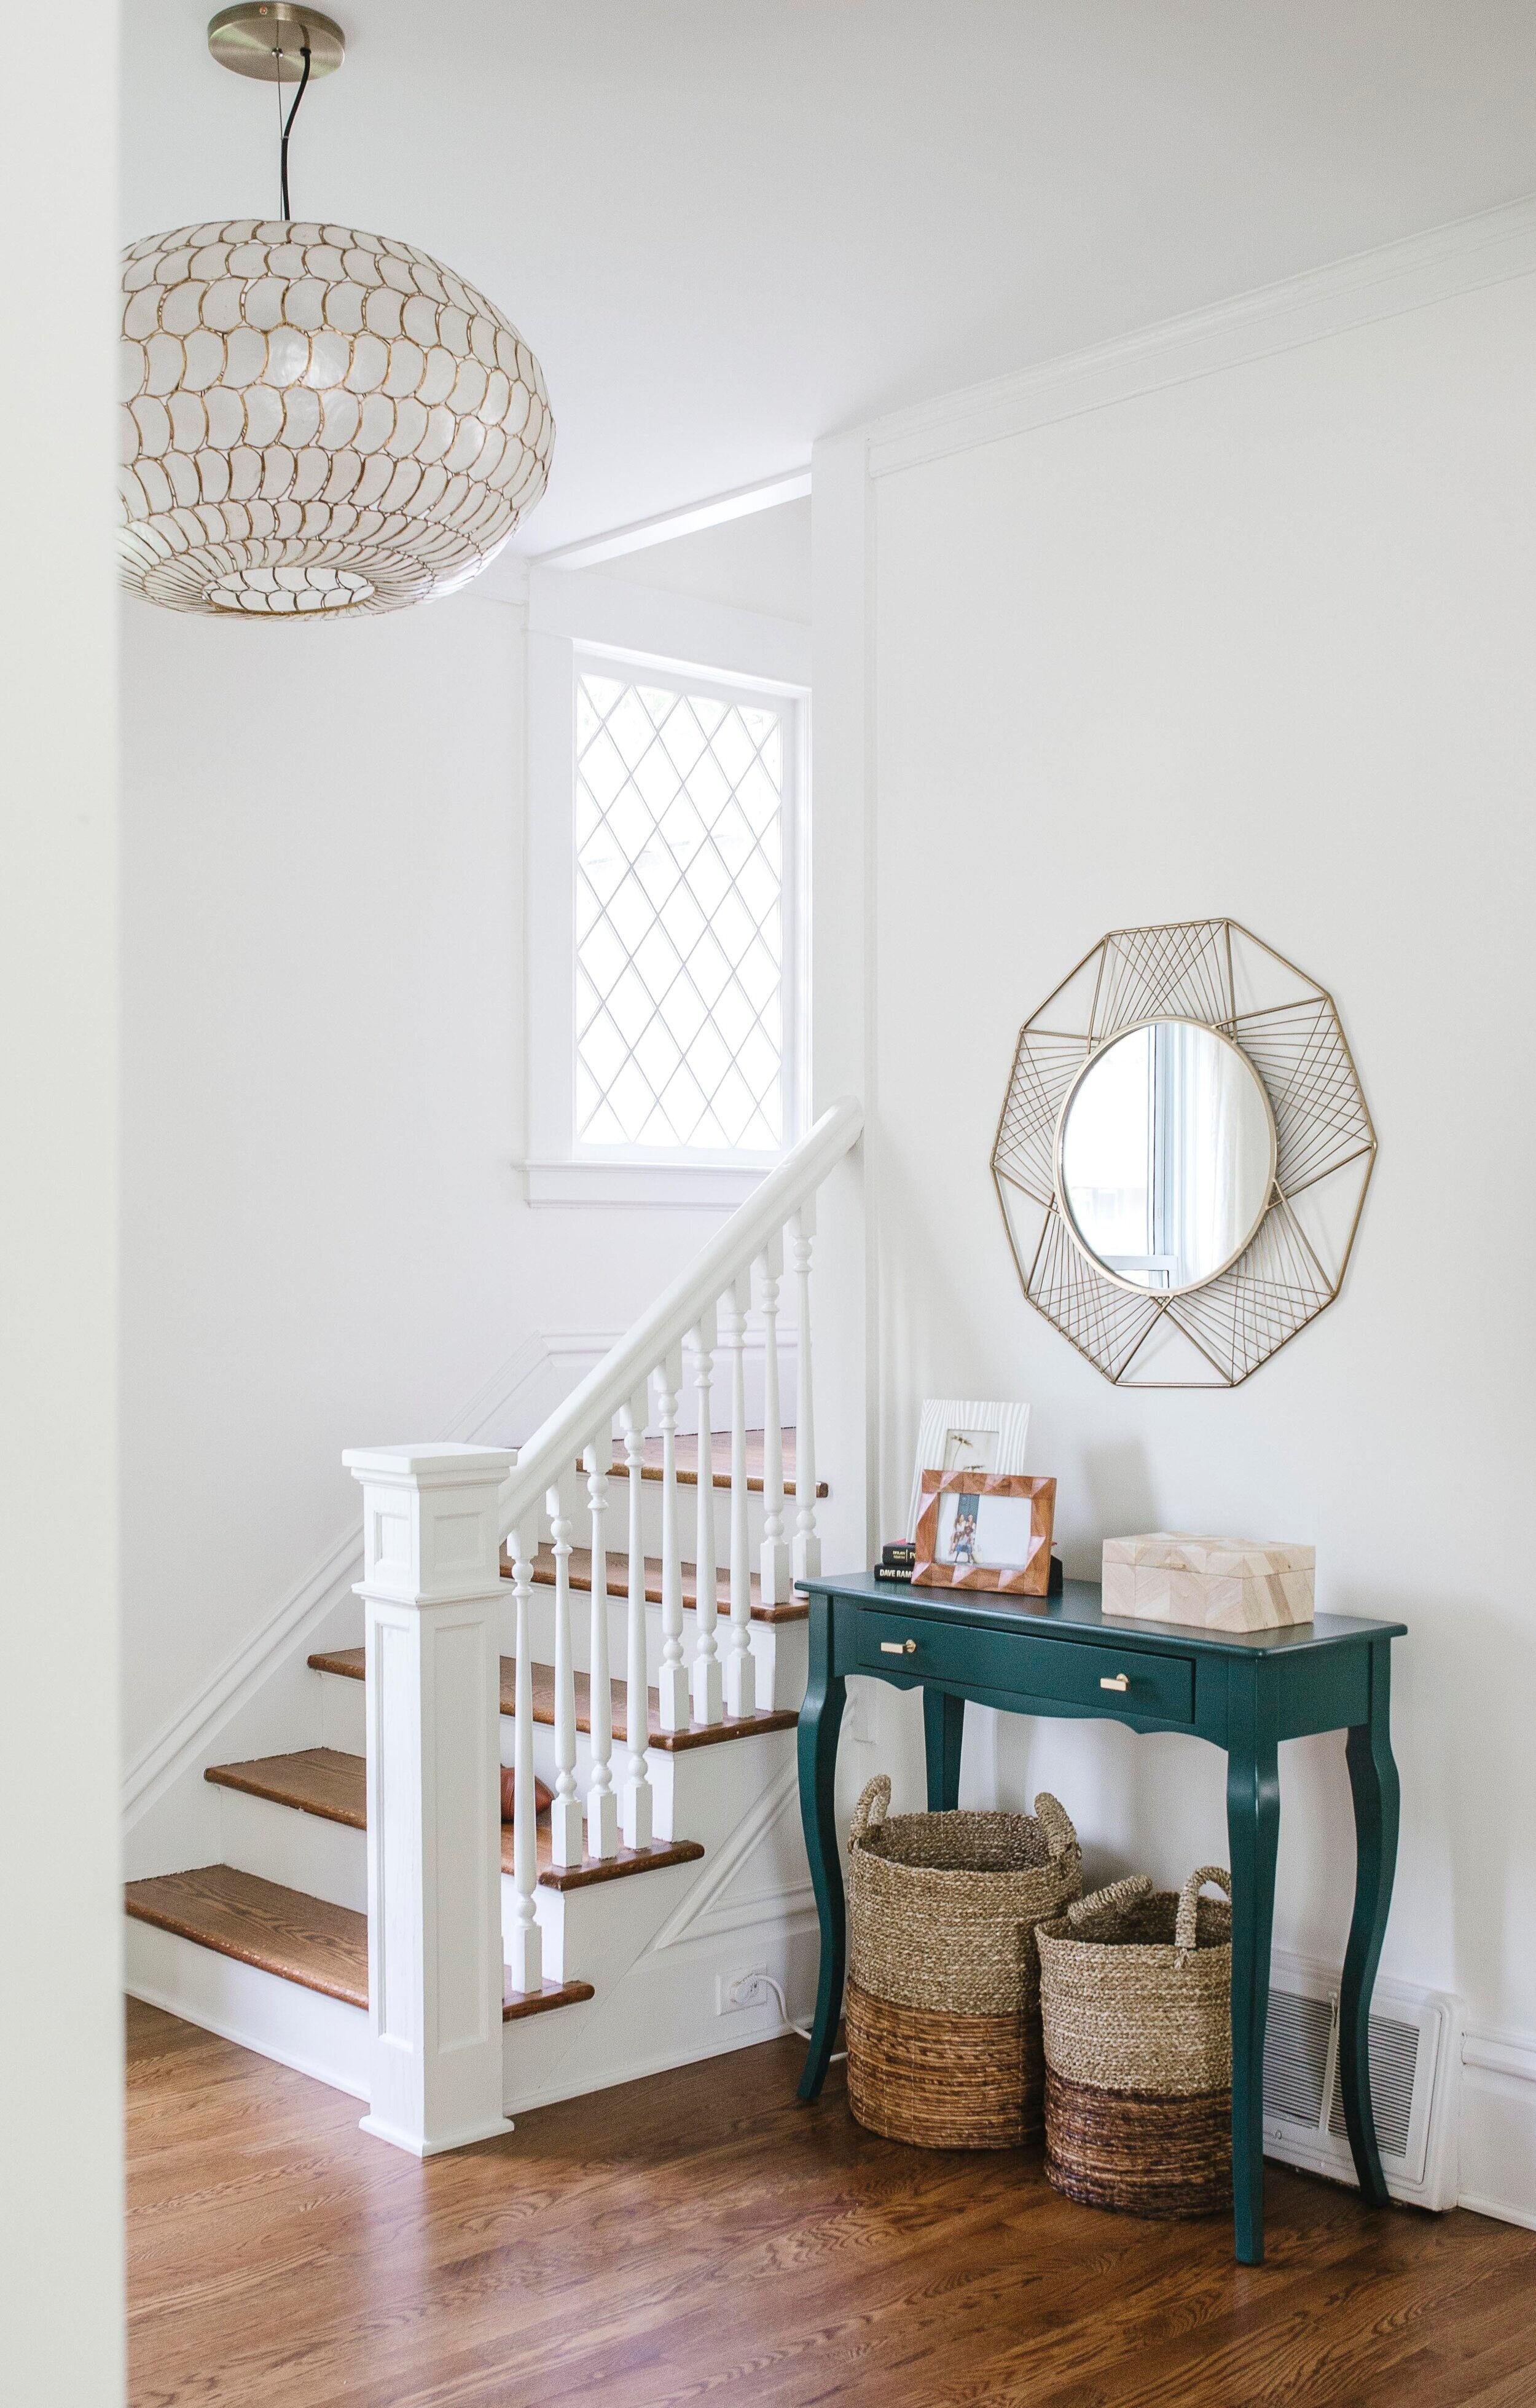
Cloud+White+OC+130+entry+way+with+table+and+desk.jpg
OC+130+Cloud+White+Benjamin+Moore+Vintage+House.jpg
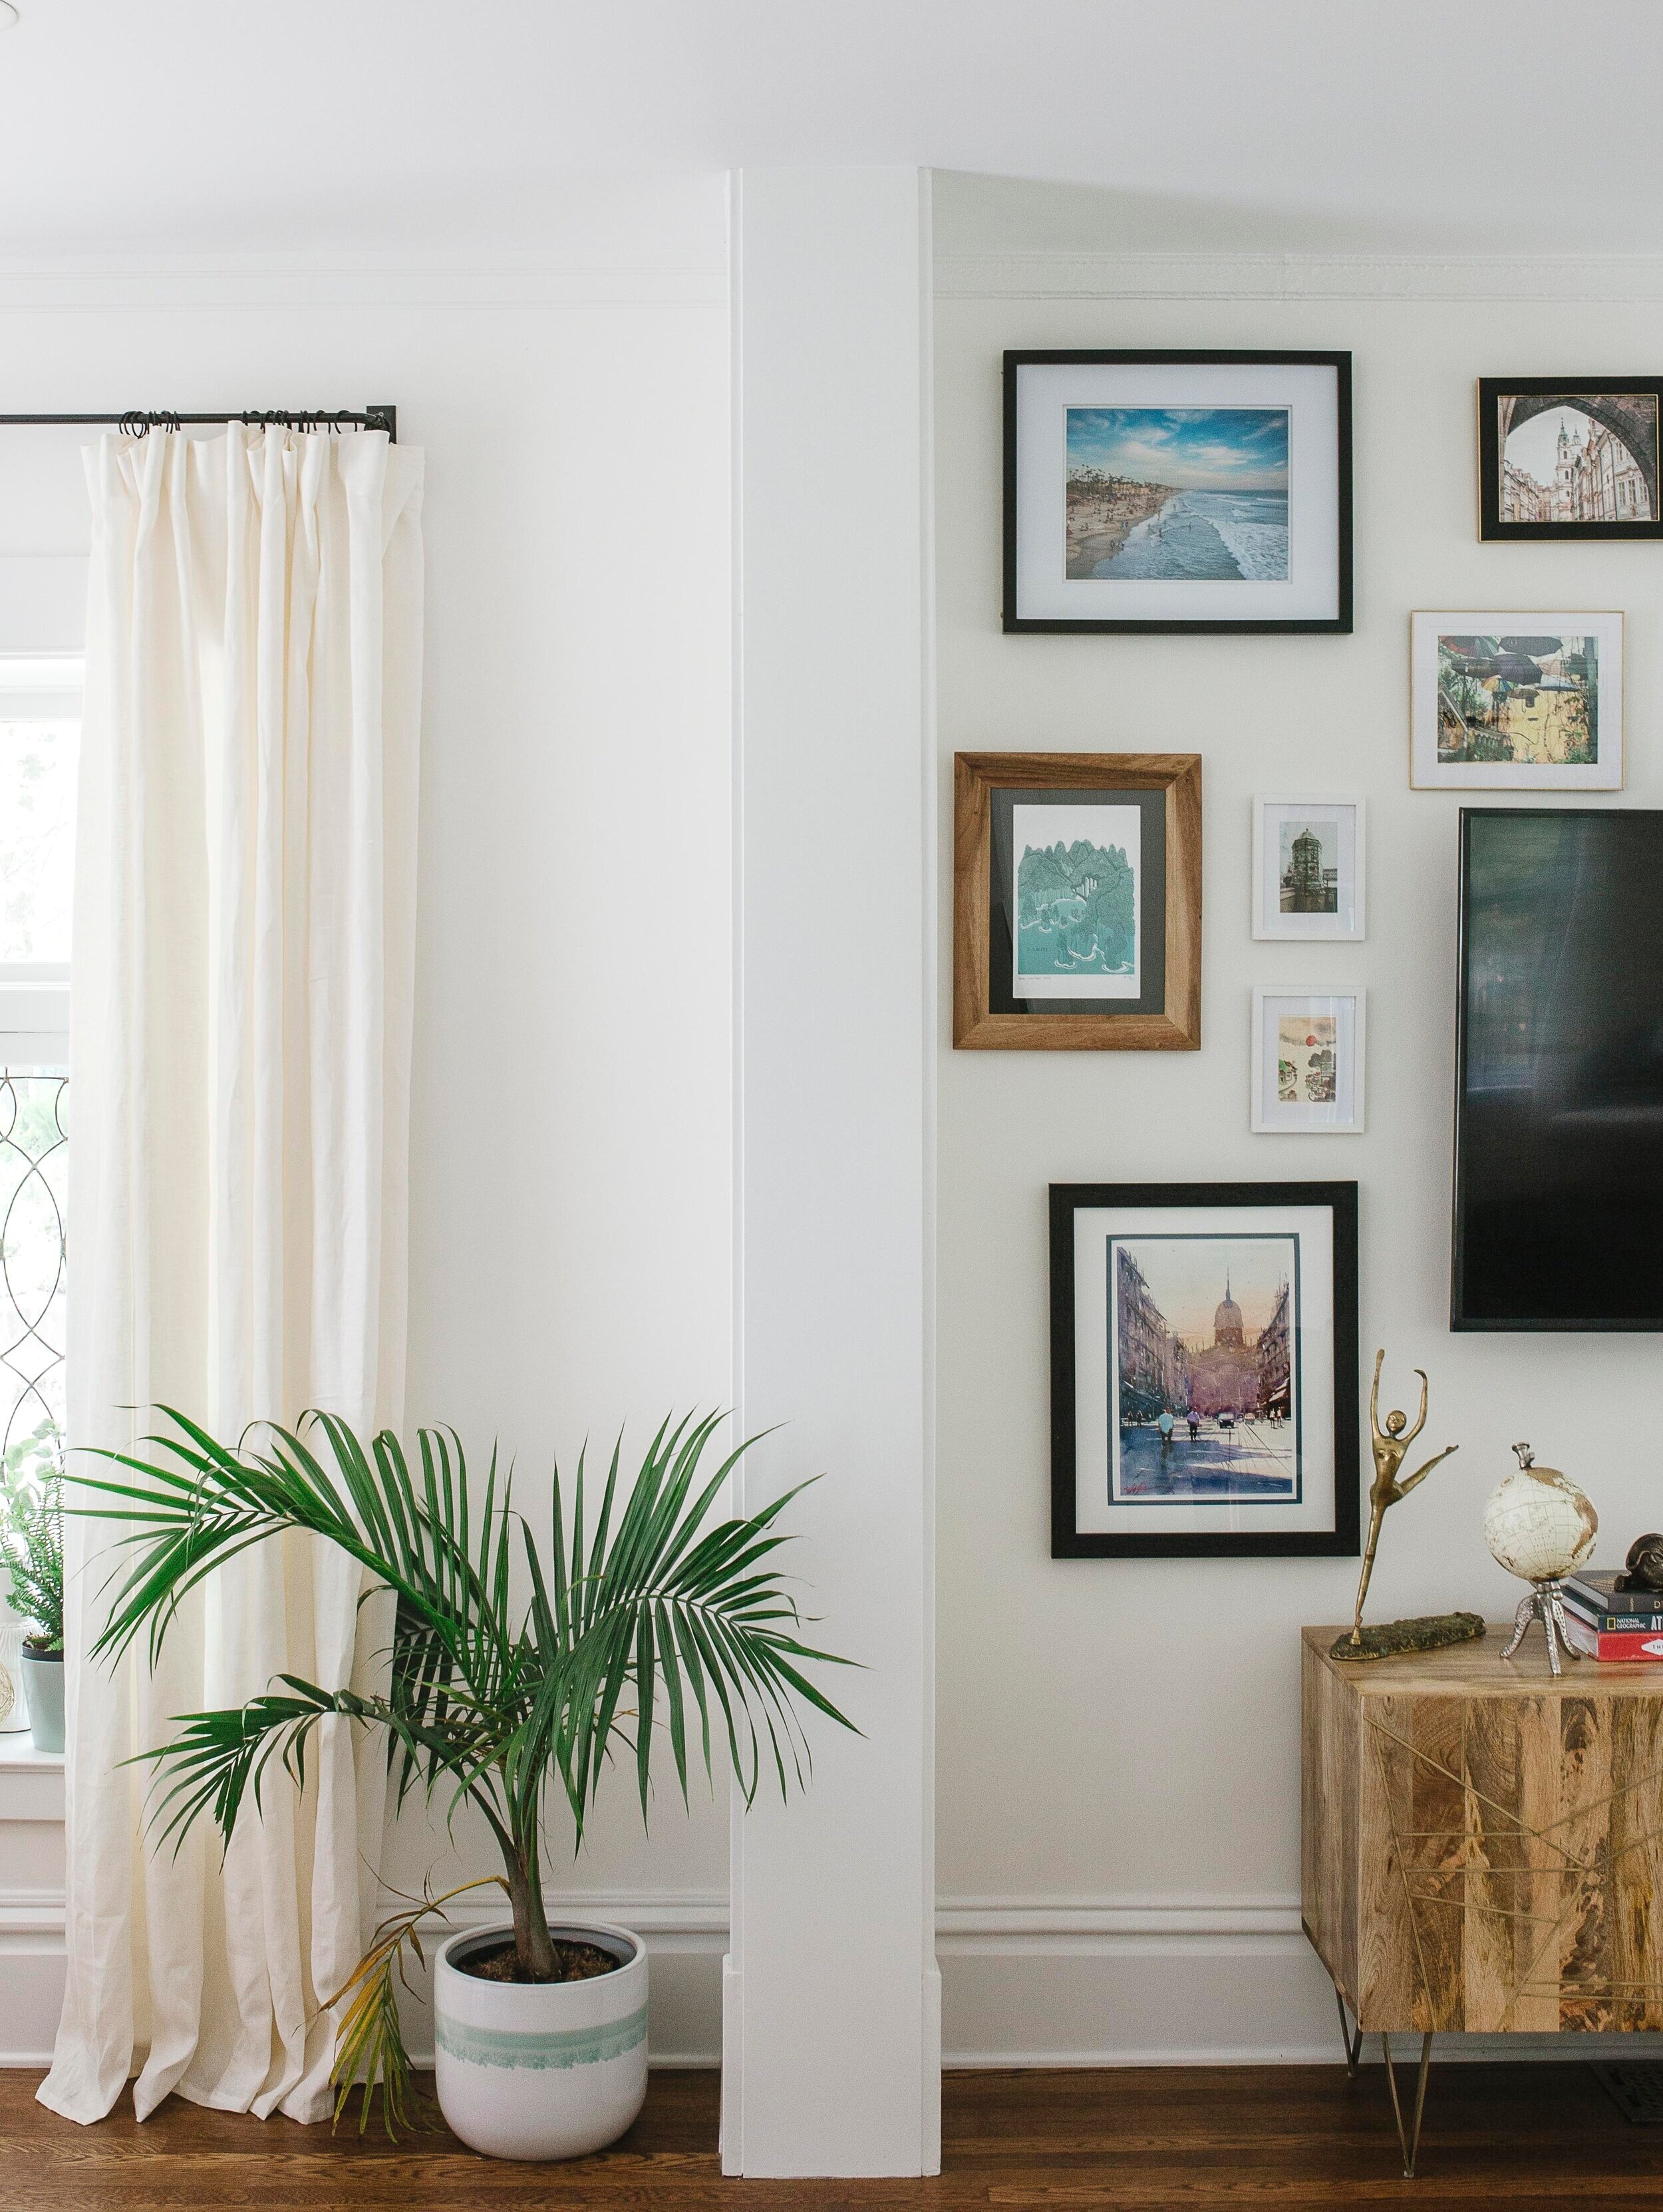
OC+130+CLoud+White+Benjamin+moore+gallery+wall+and+cream+linen+curatins.jpg

Despite Cloud White looking different in each space, it still looks great and does so well in both houses.

While I do love other whites as well (Simply White, Decorators White if you were curious), Cloud White will always be one of my favs.


Small House? 5 Tips to Design Your House and Keep You Content


Small House? 5 Tips to Design Your House and Keep You Content

How We Designed a Small Shared Girls Room

Small rooms and small houses are some of the hardest spaces to design well. You have to fit a certain amount of necessary furniture in them, while also wanting to make the space feel like ‘you’.

monochromatic shared nursery how to design small spaces grand rapids interior designer.jpg

It really forces you to get creative, not only with furniture layout, but with the color scheme because it is VERY easy to think you’ve just got a few things going on, and then WHOA, overload and it all makes the room look smaller. 

Tips On How To Design A Small Room

-       Don’t be afraid of dark colors.  The color of the room matters less than how many colors/items are in the room.  You can paint a room dark if you are going monochromatic and the other items in the room blend in with the walls.  (The only reason we didn’t go dark in this girls room was because we went super dark in the bedroom next door and wanted something different)

-        Don’t be afraid to paint the ceiling dark (it makes the ceiling recess and makes the space seem larger

-        Use Mirrors.  They will reflect the light and the space giving the impression of a larger space.

-        Keep the floor uncluttered.  Use a sconce or table lamp instead of a floor lamp.  If you can, use floating pieces of furniture that give more space.  Use unused space under a bunk bed for a crib or toy storage

-        Don’t forget lighting.  In this particular room, the ceiling pendant light and the table lamp give off enough light, even though it is a dark room with a north facing window-  but if you had a slightly larger room, you would probably also want some can lights in the ceiling to brighten the space up.

-        Don’t buy a tiny rug.  Buy the largest rug that will fit in the space.  Small rugs make a space seem even smaller.  In this room, we only had room for a 4x6.  If you are decorating a living room, I can guarantee a 4x6 will be too small…unless you are a tiny person and your couch is 2 feet long.   

girlsbedroom.whiteeamsrocker.grandrapidsinterior.design.whitepouf - Copy - Copy.jpg

This shared girls room project in Grand Rapids Michigan, is one of the harder spaces I’ve designed because it is SOO small.  Per code, a bedroom has to be wider than 7 feet.  And this bedroom is like 7.5 feet. 

Prior to experiencing the space, I designed a moodboard for the room- based off of some items I already owned and liked.  I love lots of color, and wanted to incorporate color into the room. 

Shared girls room design board colorful bright.JPG

Turns out the final result was exactly opposite of lots of color, yet it was one of my favorite rooms in the whole house.

First mistake in this was painting the ikea kura bed black.  In a larger room, this would’ve looked great still- if the bed was less bulky, and more spindly like a jenny lind bed,(like the crib in the pic) I still think it would look great and not too overwhelming and dark. 

Colorful and bright shared girls room design.JPG

With just too much color and too many things sticking out and the room closing in and feeling smaller, I decided to go mostly monochromatic and use pattern and texture to make the room interesting. 

girlsbedroom.bookcase.grandrapidsmi - Copy.jpg

I had always loved this wallpaper from Hygge & West- I had contemplating using the blue version on the back of our kitchen island, (and then didn’t since I decided to do an extra row of cabinets for storage), and thought about using the black and white version in our tv room (but didn’t because wasn’t the vibe I was going for), so when I remembered they had a white and gold version I felt like I had cured cancer.  (turns out figuring out a design conundrum doesn’t save any lives, but I’m not going to let that rain on my parade). 

monochromatic girls room design grand rapids interior designer (1).JPG

With that figured out, this is the moodboard I came up with.  I wanted to accent with a little wood to bring a little something besides white- also to complement the wood pendant light and wood floor. 

We already owned the white eames rocker and and the gold/wood circular table(which also is tub, so it doubles as the girls costume storage). 

I bought a low white bunk bed from wayfair, and the cheapest white crib from ikea.  We cut off the legs off the ikea crib so we could slide it under the bunk bed and voila! Two kids fit in an extremely small, space. 

whitegirlsbedroom.woodlightpendant.grandrapids - Copy.jpg

I choose a lucite bookshelf from CB2 for their books so it would blend into the wall and not stick out like a sore thumb-bonus is in another house, I can use this in an adult space.  You could have the same effect by painting a bookshelf or dresser the same exact color as the wall.  It will blend into the wall and make the space seem bigger. 

2.white.girls.bedroom.grandrapids.michigan - Copy - Copy.jpg

What are your thoughts? Did you ever think you could have a functional room this small?


Learn How To Create A Kitchen You Love by Painting Your Cabinets


Learn How To Create A Kitchen You Love by Painting Your Cabinets

(No paint sprayer needed)

So you hate your kitchen cabinets and don’t want to spend the money for new ones. 

I get it. 

Painting is a great way to change the whole look of a kitchen without spending a ton of money.  It takes some time and effort, but you can do it well…even WITHOUT a paint sprayer. 

DIY paint your kitchen cabinets with paint roller. mustard yellow kitchen cabinets grand rapids interior designer.jpg

I painted the lower cabinets in the kitchen above for the fall 2020 One Room Challenge and they turned out really well. (Scroll to bottom to see what they looked like before, and some more after pics).

I’ve sprayed kitchen cabinets before & I’ve rolled them.  They both have pros & cons, but this time around I didn’t want to deal with all the spray prep, and I also didn’t have a warm place to do the painting if we were to spray them. 

Ben Moore Advance Paint.png

The thing that makes it possible to roll these is the most amazing paint product to ever hit the market….Benjamin Moore’s Advance line.

No, they’re not paying me (unfortunately). This paint is a latex paint, but levels like an oil. Which means it takes 16 hours to dry (boo!), but gives you the best finish you could ask for as a non-professional (yay!).

Supplies You Need To Paint Your Cabinets

  • ziplock bags (for door hardware

  • Screwdriver

  • Orbital Sander

  • 100 Grit, 200-300 grit sandpaper

  • Fine grit sanding block

  • 4” roller with short nap

  • 1-2” Angled paint brush

  • Benjamin Moore Advance Primer

  • Benjamin Moore Advance Paint (Matte/Satin/Semigloss/High Gloss options)

    • I have used all of these sheens for painting cabinets or furniture, and the only one I don’t like is the satin. For some reason I never like the way it comes out.

Step One: You gotta take the cabinet doors off.

No. Don’t try to do this with the doors on. It’s gonna look bad. Real Bad. Pro tip is put hardware from each door into a ziplock bag and label it with door number. Write the door number in the notch where hardware goes, so you know it won’t be painted over (if you’re spraying cabinets, cover the number with a small piece of painters tape so you know what doors go where)

how to paint kitchen cabinets with roller for beginners.jpg

Step Two: Sand, Sand Sand

This step is the hardest and the worst.  It takes the most time, and if you don’t put the time and effort in, your whole project is gonna look real crappy real soon. 

You have to sand those suckers down and get rid of all the gloss on the cabinets so the paint will stick.  And when I say sand, you need to sand em’ good.  You also have to remember that you want the finish to stay smooth, so don’t sand with 60 grit, or it’s going to gouge out the fronts.  You should start sanding with 100 grit to get all of the initial finish off, and then go to 180-200grit to smooth everything up. 

how to paint kitchen cabinets sand kitchen cabinets.jpg

Use a sanding sponge in the corners and the places that are hard to reach with your sander.  

Plan for the sanding to take you a few hours at the VERY LEAST, if not longer.  Do not skimp on this step.

Step Three: Clean Cabinets

I first vacuum the fronts with my dyson, and then I wipe them down with a soft, damp cloth, and then I vacuum them AGAIN.  Then I run my hands all over them to make sure that A) they’re consistently smooth and B) there is not any dust on them.  (you can also use tack cloth for this, but I prefer a damp rag)

Step Four: Prime Kitchen Cabinets

If you’re fancy, you will drill holes in the bottom of your cabinets door fronts so you can have the sticking up and paint both front and back and same time.  I’m not fancy. 

I used bins in my basement to set the fronts on. 

How to paint kitchen cabinets with roller ben moore advance paint.PNG

Remember to start painting the BACK of the cabinet FIRST.  You do this because then you will need to flip them over, and there is always a chance paint is dinged slightly from laying on a new paint job (which is why people suspend them in the air). 

Prime both sides and then let them dry.  We use Benjamin Moore Advanced line to paint, and use the Ben Moore Advanced primer.  If this is the only project you’re doing, then tint the primer to match your final color.  We bought a gallon of the primer in white, because we have a lot of projects we are using it for. 

Step Five: More Sanding

Oh yay!  Use a really smooth grit (200-300grit) to sand the primer. 

Try to get a really really smooth finish, because this will dictate how smooth your final finish is. 

Step Six: Painting Cabinets For Real

Finally the fun part! Remember to start with the back of the cabinets (also will give you some time to practice how to get a smooth finish with the roller). 

I used a 4” roller with a really smooth roller nap that is meant for cabinets and smooth surfaces (ask your local paint store to recommend the best kind). 

How to paint kitchen cabinet with roller BM advance paint yellow kitchen cabinets.PNG

The trick to this paint is to try to get the most even surface (ie, don’t do one section of cabinet with a ton of paint, and the other just using what ever is left on the roller).  The paint will do an amazing job of leveling (smooth out), but try to put the same amount of paint with no huge blobs. 

Do not try to suck as much paint out of that roller as you can- on a wall with eggshell, you can roll and roll and use all the paint prior to getting more paint.  If you do that, you will not have a great finish. 

For these cabinets, I used a combination of a 4” roller and a small angled brush to get into the corners and crevices. 

You will need 2-3 coats of your final color. 

Step Seven: More Sanding

If you want to do an extra nice job, you will sand the cabinets between each coat of paint.  I was sort of lazy, so I only sanded them after the primer, and then prior to the 3rd and final coat of paint.  (don’t be lazy like me). 

Step Eight: WAIT FOR 2-3 Weeks

Now the trick is to let the door fronts sit for 2 weeks AT LEAST.  The Benjamin moore paint takes up to 21 days to cure completely, so if you start using them right away, the paint with ding…and chip.  If you wait until it completely hardens, you are much more likely to have a durable finish. 

I had to put the fronts on earlier than I wanted so I could get pictures to finish the One Room Challenge, and they got dinged up pretty bad in that first week.  After another week or so, they’ve been pretty hardy and are still looking good a few months later. 

Let me know if you have any questions and/or how your project goes!

What the kitchen looked like before:

black tile kitchen yellow floral wallpaper.jpg

And After:

Grand Rapids Interior Designer How to paint your kitchen cabinets with a paint roller.jpg
DIY paint your kitchen cabinets with a roller mustard yellow cabinets gold hardware.jpg
How to Paint your kitchen cabinets with a paint roller yellow kitchen banquette bench.jpg
 

Pinterest 2021 Home Decor Predictions: Why We Think They’re Wrong


Pinterest 2021 Home Decor Predictions: Why We Think They’re Wrong

Soooo…..Pinterest put out their predictions for home décor/design for 2021. 

They come up with these predictions based on what people are searching for and how certain topics have increased.  All I gotta say, and I’m going to say this nicely….but I think they are mostly wrong. 

Pinterest 2021 Home Decor Trend #1: Vibey Lights

Think 1990’s lava light in LED form.  All I can say is NO.  Just NO.

This may take off in 13-19yo set or in a strip club, but I just don’t see a lot of our interior design clients going for a fluorescent blue light on their wall that says “netflix and chill” or whatever it is that these lights say. 

Picture via Pinterest Home Trends

Picture via Pinterest Home Trends

Pinterest 2021 Home Decor Trend #2: Japandi Asthetic

Pinterest describes it as, “Japanese design meets Scandinavian minimalism in this rising home décor trend. Sleek lines, neutral color schemes and calming setups.” 

Picture via Pinterest Home Trends

Picture via Pinterest Home Trends

Here I think they are both right AND wrong.  Are people going for minimalism and neutral color schemes? 

Yes they are!

Is it an upcoming trend for 2021?  No.  Slatted beds/doors/dividers have been around for years now…it’s nothing new in the design world.

Below are two types of doors we installed in a project a few years ago.

Swatts & Co Design Studio

Swatts & Co Design Studio

Slatted wood closet doors scandi japan japandi design grand rapids interior designer custom doors.JPG

There might be a slight turn from Scandi to Japan, but not so much that the average person can tell the difference in the end product.

Pinterest 2021 Home Decor Trend #3: Shelfies are the new gallery walls

As Pinterest says, “Calling it now: kitchen shelves will be the new favorite corner of the house in 2021. People will collect and invest in eye-catching dinnerware, from colored glassware to handmade clay plates.” 

This one goes along the lines of the modern minimalism above.  Call me a jerk, but I don’t think you can call it ‘predicting trends’, when it’s already a huge trend.

Swatts & Co Design Studio

Swatts & Co Design Studio

Search for “open kitchen shelving” on pinterest or google and you won’t have the time to look at all the results. I almost wonder if the large format open shelving will be going out of style in the next 5 years. 

Swatts & Co Design Studio

Swatts & Co Design Studio

I still like open shelving in small doses for items that are used a lot (if they’re not used a lot, you’re gonna have yourself some dusty dishes).  I like them so much, that I incorporate them into A LOT of our kitchen projects.

Swatts & Co Design Studio

Swatts & Co Design Studio

They allow for small spaces to feel more open and can add more storage to places that previously had none.  The above pics of open shelving are from projects that we’ve done in the past.  Some of these projects go back 4-5 years, so let’s not say this is an upcoming trend. 

Pinterest 2021 Home Decor Trend #4: Cloffice is the new home office

Pinterest says, “Say goodbye to open floor plans. Pinners are getting creative with closed doors. In 2021 we’ll all learn what a “cloffice” is. Even when doors aren’t available, people will find new ways to create some personal space.”

Yes to this!

Anyone who has lived through 2020 and working from home is saying, “YAAASSS!!! GIVE ME A ROOM TO MYSELF WHERE MY SAVAGE CHILDREN CAN’T INTERRUPT MY ZOOM MEETINGS!”  I’m not generally an all-caps type of person, but that previous sentence would be yelled off the rooftops by parents everywhere…if parents weren’t too exhausted to climb up onto the rooftops. 

Design by A Lo Profile

Design by A Lo Profile

First, you might wonder what a “Cloffice” is? Closet + Office = Cloffice. If you have an extra room and a lot of clothes, you can combine and create a super functional space like Lauren did over at A Lo Profile. (see pic above) I’m super jealous of all of her closet space, and a door that probably locks.

Swatts & Co Design Studio

Swatts & Co Design Studio

In one of our past projects, we created a home office and put a desk into the laundry room to create a work space in a house that had no room for an office…it ended up turning into a place for kids to do crafts- which we can all agree is better than the kitchen table.

I think pinterest is 100% right on this one!

What do you think?

Are any of these going to explode more than they already have? Are neon lights going to become a staple in the average household?


DIY Channel Tuft Banquette Bench How-To


DIY Channel Tuft Banquette Bench How-To

I know a lot of people wanted to know how we upholstered our banquette bench from our Fall 2020 One Room challenge project, so this post is for you my friends!

First…look at some pretty pictures. Isn’t it lovely!??

Modern Vintage Yellow FLoral Kitchen Wallpaper DIY Channel Tufted Banquette Bench (1).jpg
Channel Tufted Banquette Bench Yellow Kitchen Cabinets floral kitchen wallpaper (1).jpg

Not only is it lovely, it is COMFORTABLE! I love sitting there, and now it’s my favorite place to sit on the computer and work before the savages wake up.

Please note, that we had the bench and drawers made by our friends at Re.Dwell because we didn’t have time to deal with that. You could do something similar by using an Ikea Besta series with drawers for the bench and putting some wood on top and for the back, and then pick up my directions here.

What you need

  • a bench

  • 1/4” plywood cut to size

  • staple gun (and huge amount of staples)

  • batting found at joanns or hobby lobby

  • High Density Foam (Joanns or Hobby Lobby)

    • 3” Foam for bench

    • 1” foam for back

  • Whatever fabric you’re using

  • Industrial Velcro

There are a lot of ways you could do this. You could just upholster some foam like a pillow, and throw it up on the bench. I wanted a custom upholstered look, like at a fancy restaurant, so I figured out how to do that (it wasn’t hard).

Since the bench was sturdy, the wood I used as backing for the upholstery, didn’t have to be. We didn’t want a lot of extra bulk, so we went with 1/4” plywood (the cheap stuff). We (the husband), cut the plywood into the size of the bench- making it slighttttlllly smaller than actual bench to account for fabric and batting.

Steps to DIY upholstered Banquette Bench

  • cut the foam to match the size of your plywood

  • wrap batting around foam and wood, pull tight and staple (make sure you have extra batting on the edge that will be the front edge of bench)

  • now take the fabric you’re using to upholster (we used a faux leather to make clean up easy) and upholster the sides first and then the back of bench, leaving the front edge UN-STAPLED

DIY how to Upholster a channel tuft banquette bench.jpg
DIY how to Upholster a channel tuft banquette bench (3).jpg
  • Now you can take the upholstered piece of plywood to your bench. I used heavy duty velcro to attach the plywood to the bench. I wanted to be able to change it out if I needed to without too much trouble.

built in upholstered banquette bench DIY.jpg
Built in banquette bench upholstery DIY Grand Rapids Interior Design.jpg
  • Do not fold the batting underneath the plywood- you want the batting to come out towards the front of the bench so you can fold it over the ledge of the bench like in picture (this is what will give you the ability to make it look more built in)

  • Staple the batting along the whole length of under the ledge of the bench.

  • Then I pulled the black fabric tight and wrapped it over the batting and stapled it underneath the edge of the bench. (the corners took a few trys to fold and get right because of the extra fabric, but it’s not hard to get the staples out and do it over)

DIY Banquette Bench Upholstery Built in upholstered bench channel tuft back.jpg

Here we are ready to upholster the back of the bench! (this can still be done if you don’t have a back to your bench- you just need to use 1” thick boards instead of the 1/4” plywood and attach to wall with a french cleat.)

How to DIY Upholster a Channel Tufted Banquette

  • The steps for these are very similar to the bench, except more time consuming because there are so many more pieces involved

  • You need 1” foam, batting, and 1/4” plywood

  • First wrap the batting around foam and plywood pulling tight- this give you the rounded edges

  • Then wrap fabric around and staple away

  • If you are using patterned fabric, number the backs of your pieces of wood so you can keep the pattern repeat in order.

DIY Channel Tuft Upholstered Banquette.jpg
DIY Channel Tuft Upholstered Banquette (2).jpg
DIY Channel Tuft Upholstered Banquette (3).jpg

For this bench, we used 4” wide boards that were 26” high (would’ve gone higher if the window trim wasn’t there). If you want to make less work for yourself, you can go with 5” or 6” wide boards.

DIY Channel Tuft Upholstered Banquette (5).jpg

First I organized the boards onto the back of bench. Because the bench was upholstered almost all the way to the back, I was able to squish them a little bit in between black upholstered foam and the back of the bench.

I put pieces of velcro on each board and stuck it in place.

Grand Rapids Interior Design Channel Tufted Banquette Bench.jpg

With the velcro, I can easily remove one board and reupholster if it gets ruined, and I can also easily pull out the board if I want to use that outlet behind.

Important- If you do not have an angled bench back board to velcro individual boards to, you need to use 1” thick boards to upholster individually-

DIY Channel Tuft Banquette Bench.jpg

Then you will line them all up together like in the above picture, and use 2 thin boards (imagine level is a board) and screw into each piece of upholstered board so that they are all stuck together. Then you can attach a french cleat to back of upholstered boards and hang on wall.

Yellow built in banquette bench black and white channel tufted banquette seating.jpg

And there you have it- your very own, super comfy, super pretty channel tufted, upholstered bench.

(If you look close, you can see some batting sticking out under the bench edge…it’s on the to-do list someday to glue a small piece of fabric up there to cover it up….but if I were a betting woman, that probably never happens.

Black Zellige kitchen backsplash Channel Tufted Banquette Bench Yellow Kitchen Cabinets floral kitchen wallpaper (2).jpg
Modern Vintage Yellow FLoral Kitchen Wallpaper DIY Channel Tufted Banquette Bench Grand Rapids Interior Designer Susannah Watts.jpg

Let me know if you have any questions!